27 Jan 12
Sometime after Christmas last year, I found heads of savoy cabbage at the supermarket so I decided to try Jamie Oliver’s recipe for braised bacon cabbage. I made it twice and oh boy, it’s so good. SO GOOD. And so simple to make!
This recipe comfortably feeds two hungry people.
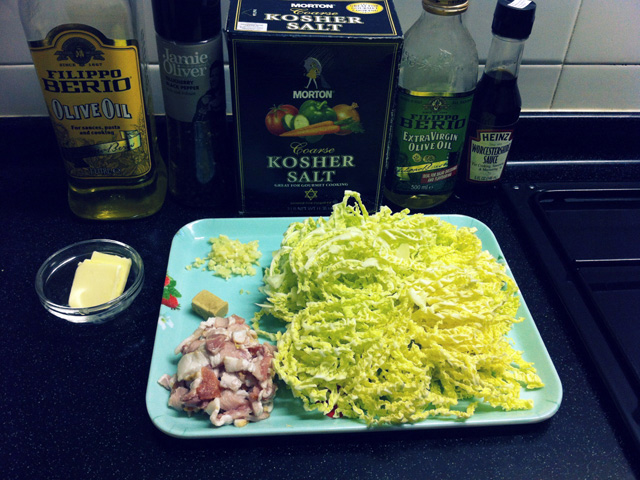
This is what you’ll need:
• half a head of savoy cabbage (the original recipe says you can use green or spring cabbage as well but I personally love the texture of savoy so I’d only make this using savoy cabbage)
• 2 cloves of garlic, minced
• 3 slices of streaky bacon, sliced
• 1 tbsp of worchestershire sauce
• 1 knob of butter
• half a chicken stock cube
• 190ml of boiling water
• olive oil
• extra virgin olive oil
• salt & pepper
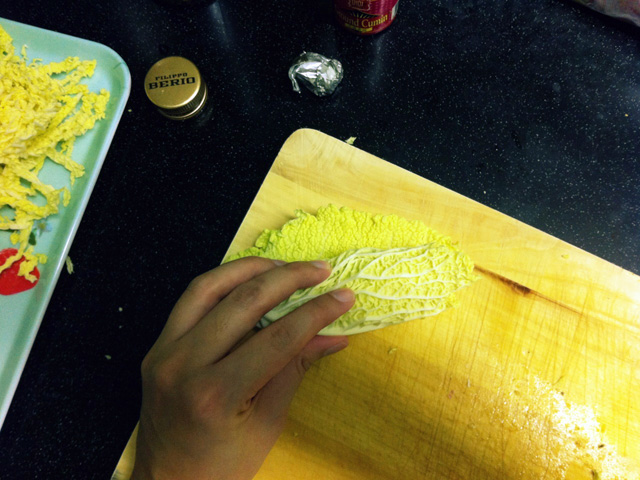
To finely slice the cabbage, roll the leaves up together like this and slice
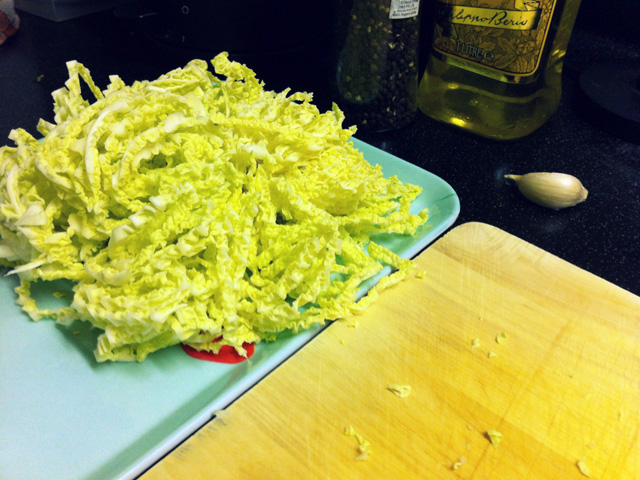
It should look something like that
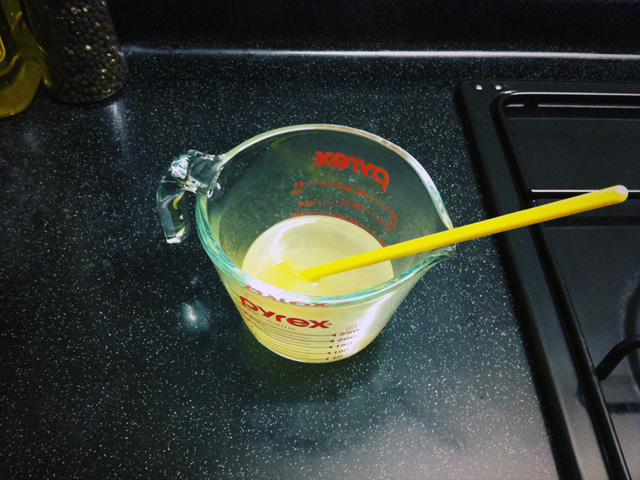
Dissolve the stock cube into 190ml of boiling water, stir well and make sure all the bits are dissolved
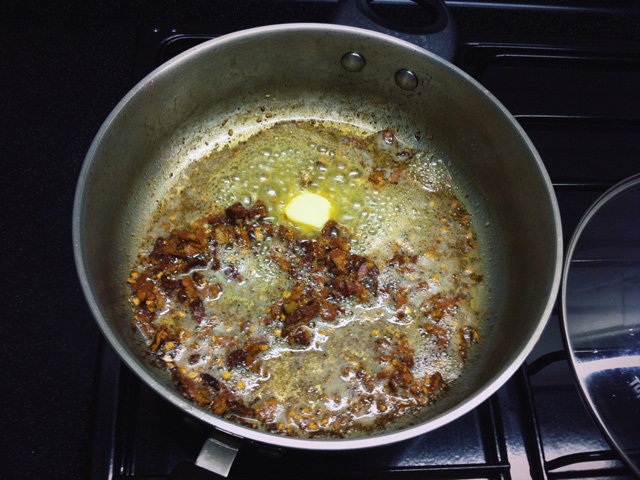
Put the pan on medium heat and add some olive oil. Brown the bacon, for about 6-7 minutes. Once the bacon is crispy, add the garlic to the pan. When it starts to turn colour, add the worchestershire sauce, butter and cabbage. Give it a good stir.
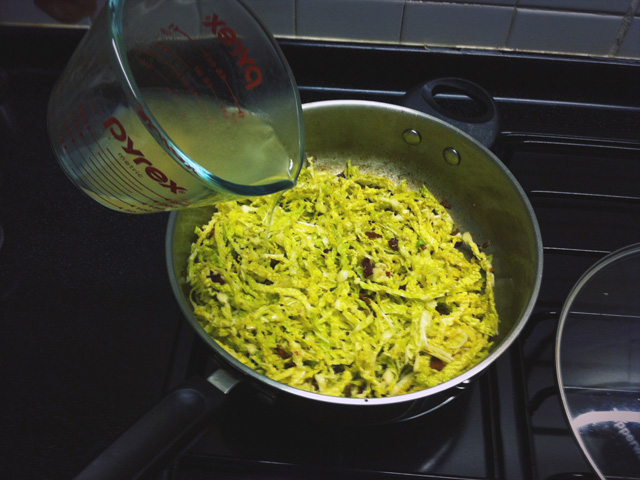
Add the stock to the pan
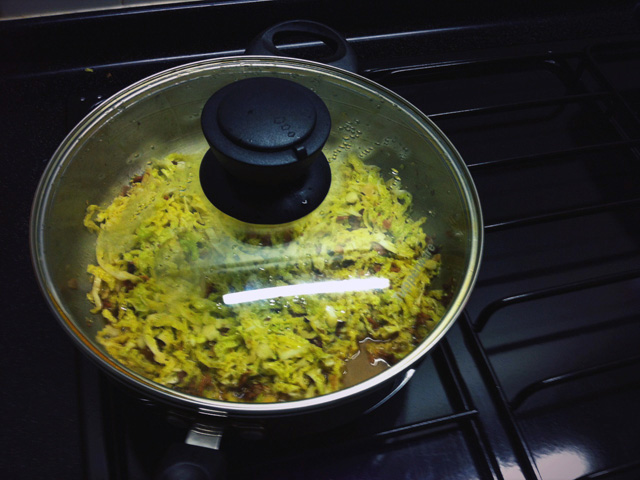
Put the lid on and cook for 5 minutes, then remove the lid and continue to cook for another 5 minutes
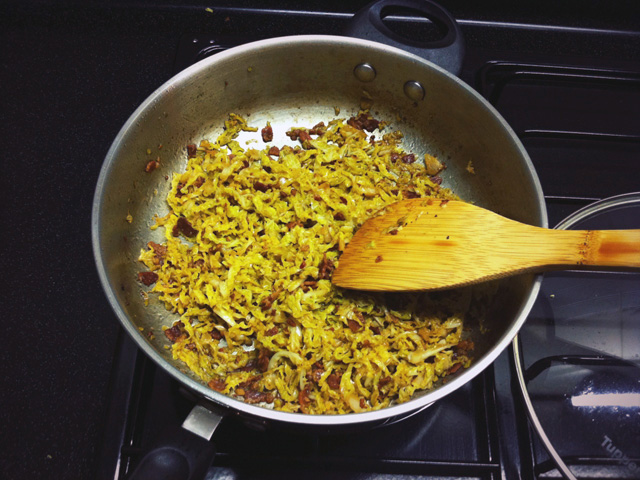
It should look like this, with no more liquids in the pan. Taste to see if it needs salt and pepper. Both times I made this, I didn’t need more seasoning. The original recipe also calls for a lug of extra virgin olive oil just before serving. I’ve had it with and without the extra lug of oil and personally feel that there’s no need for it. The dish already has quite a bit of oil from the bacon.
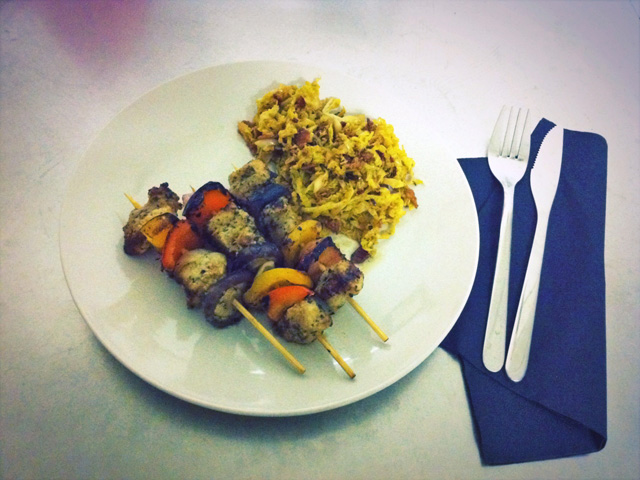
I had it with some pork kebabs! I know the colour’s way off in this picture, sorry about that.
Now I’m hungry so off I go for dinner.
| Tags: iphone 4, jamie oliver's ministry of food, pudding camera, savoy cabbage
20 Jan 12
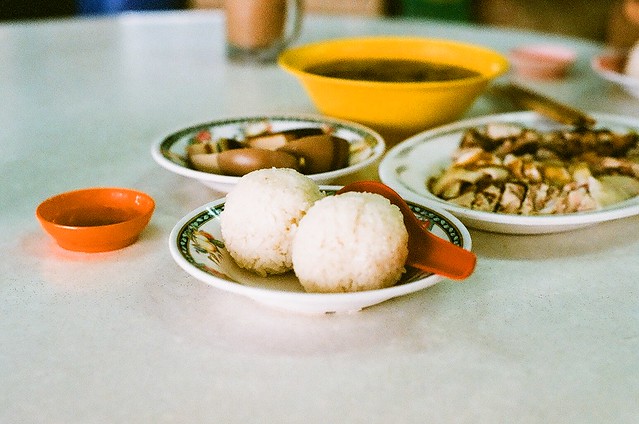

1 Hainan chicken rice ball at 43 Jln Besar
2 Wanderlust Hotel
Chinese New Year is coming right up on Monday, gong xi gong xi to fellow Chinese peeps! To everyone else, enjoy the holidays!
| Tags: 500mm/F1.8, lomography colour negative 400 film, nikon FM10
16 Jan 12

Today’s heat was too much to bear! Feeling very hot and bothered.
| Tags: 50mm/F1.8, lomography redscale XR film, nikon FM10, SAM
15 Jan 12



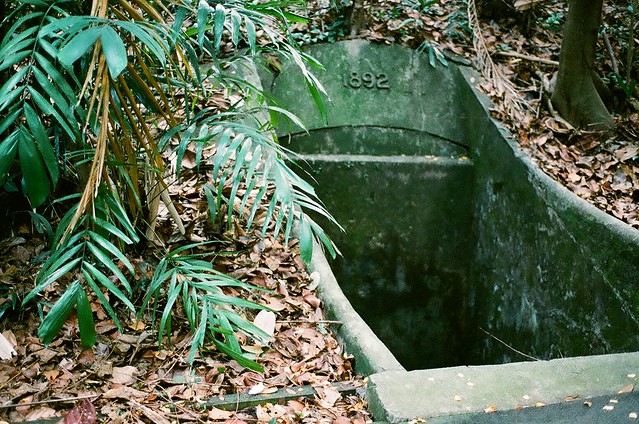

Spotting that funny plant climbing up the wall in the first photo was nice and in the second last photo, that’s an actual relic left from the World War II. I keep wanting to say it’s a bomb shelter, but that’s so not the right term.
| Tags: 50mm/F1.8, bukit timah trail, labrador park trail, lomography colour negative 400 film, nikon FM10
11 Jan 12
1 You will need 1 cup of raw almonds.

2 Soak them overnight (or at least 8 hours) in 2 cups of water.

3 In the morning, strain all the almonds and give them a good wash.

4 Pop your almonds into the blender together with 3 cups of fresh water (I used boiled water). Blend for 1 minute.

5 Use a fine mesh strainer or a sifter as I did (pictured below) to separate the liquid and the pulp.

6 You can opt to sweeten your almond milk with vanilla bean or agave nectar (Thanks Diana for the tip!). I used my milk unsweetened as a base for breakfast smoothies (pictured below). Store your milk and pulp up to 4 days in the fridge.
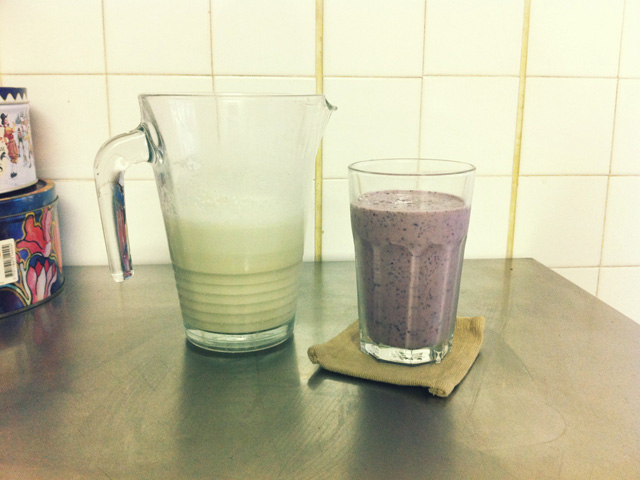
In my bid to try new things/recipes/food/routine, I gave making almond milk a go. Any recipe that doesn’t require more than 5 items or 5 steps is fun in my books. While I don’t think I’m gonna be drinking almond milk regularly – it does cost $9 a pack from a health food store – it was fun to make and didn’t hurt to know about.
| Tags: almond milk recipe, camera pudding app, iphone 4


